

Kale Fast Facts
Cool or warm weather: Cool
Size: Medium
Sun: 6+ hours
Days til maturity: 25-60 days
Water: Moderate
Original or Leaf GreenStalk: Both
GreenStalk level: Place above larger plants
Plant support needed? No
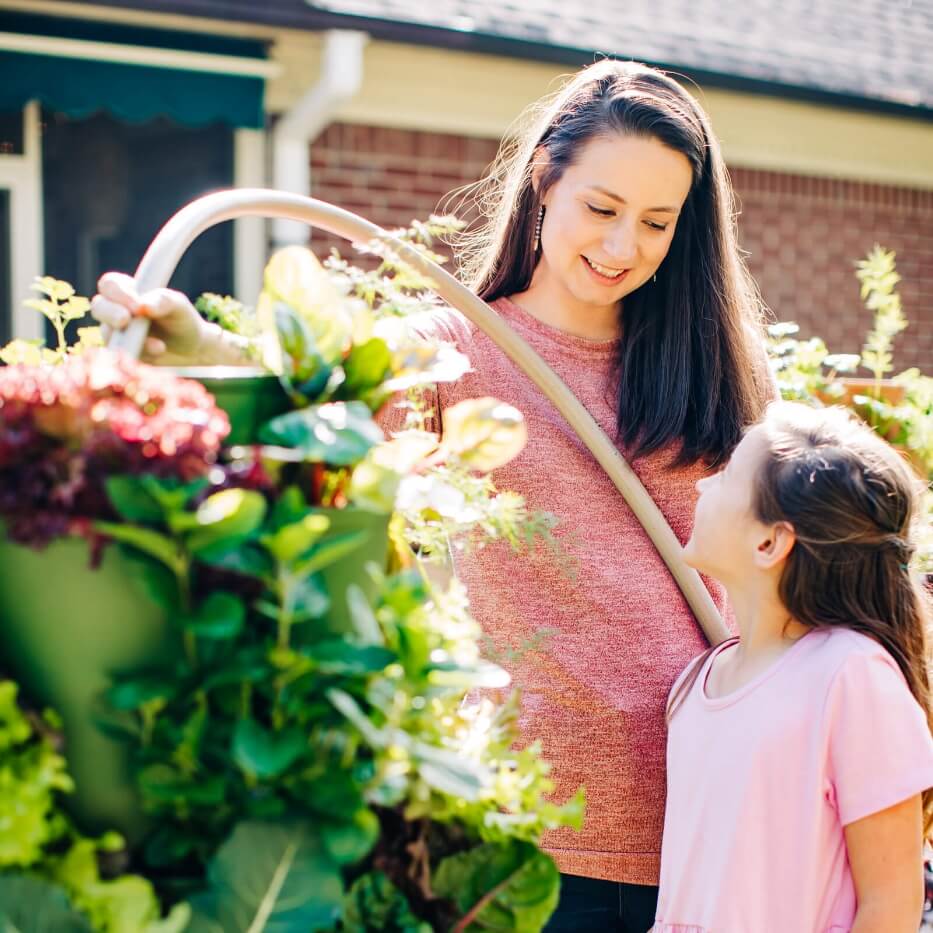
Here at GreenStalk, we love growing kale! With so many varieties to choose from, plus the nutritional benefits, it would be a shame not to grow kale. It doesn’t take much effort, and you can harvest the outer leaves while the inside leaves to continue to grow.
Over the years, we have grown a variety of kale here at the GreenStalk office — from the common curly varieties to red Russian and Tuscan (or lacinato). Each kale plant will produce an impressive number of leaves until it gets too hot. We usually plant 1-3 kale plants per pocket depending on the variety.
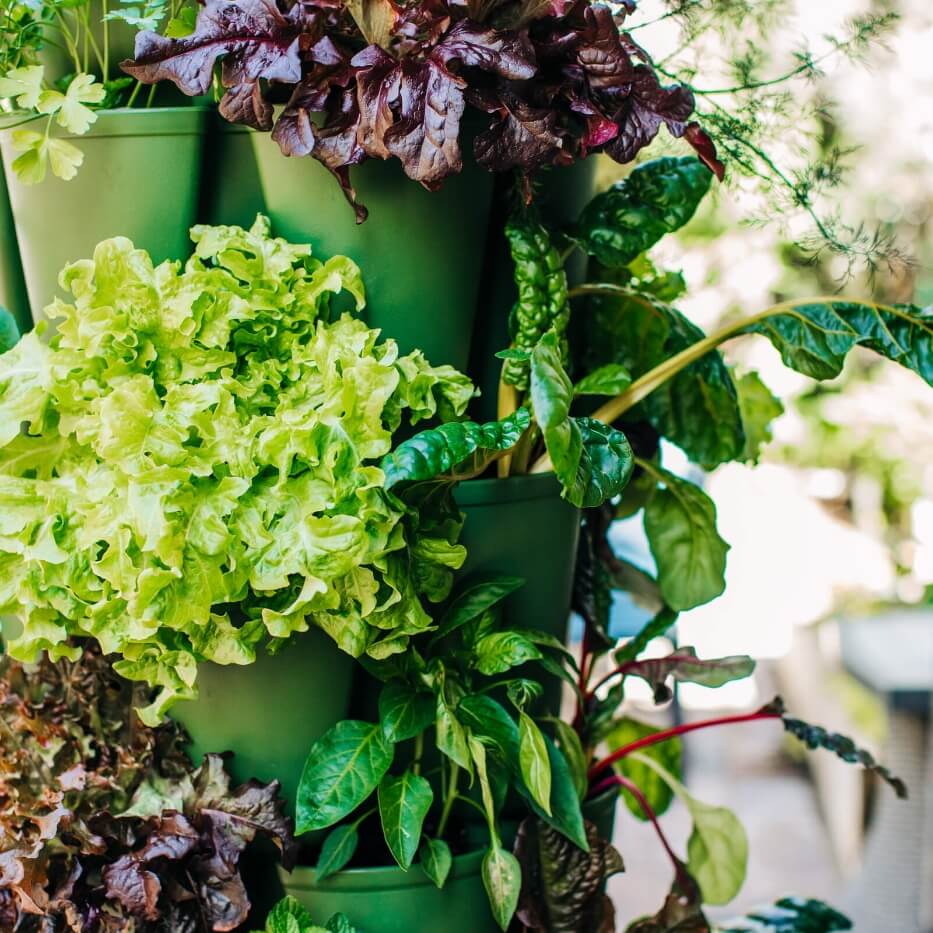
One of our favorite cool-weather crops
Kale — which is in the same family of plants as broccoli and cabbage — is super easy to grow in spring or fall.
In the spring, kale can be planted outside 1-2 weeks before the last frost. They germinate best with soil temperatures around 70-75°F (24-21°C). Hot summer can cause kale to become tough and bitter. For a fall or winter harvest, plant starter plants or fast-maturing varieties three months before the first frost date. Kale can withstand hard frosts 25–28°F (around-3°C), and actually tastes sweeter when harvested after a frost.
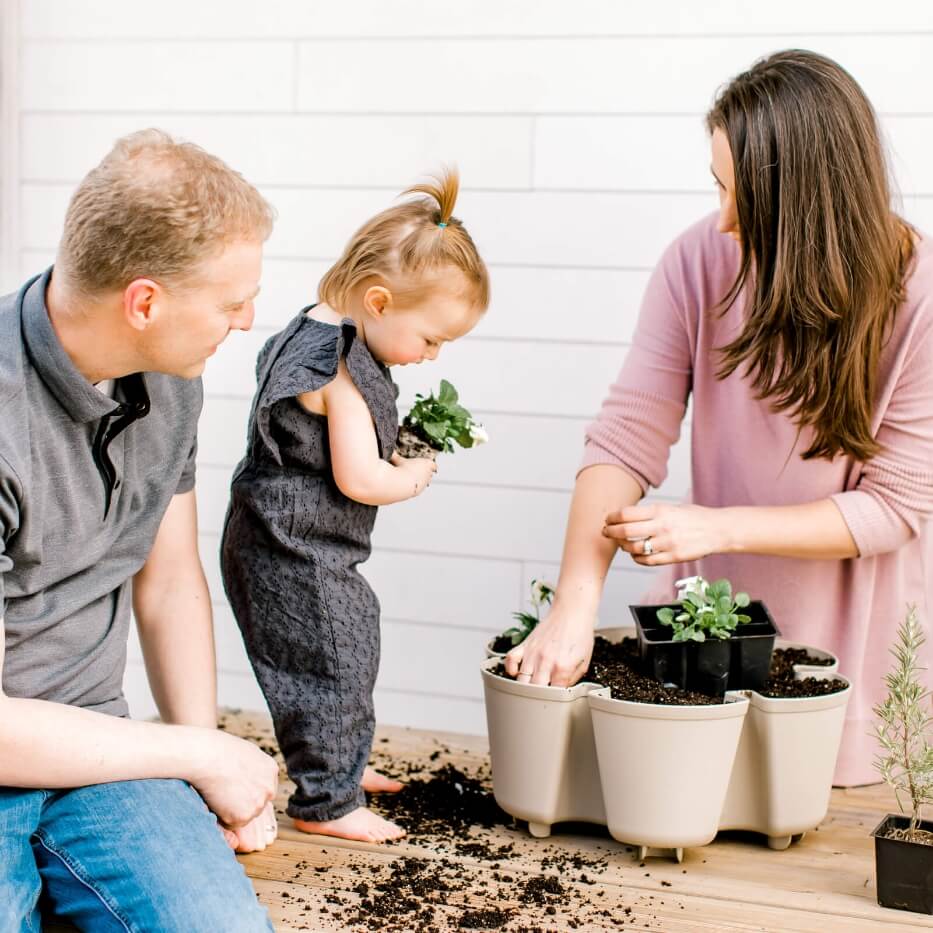
Kale grows relatively easily and we find that it doesn’t require any special treatment when it comes to potting soil and fertilizer.

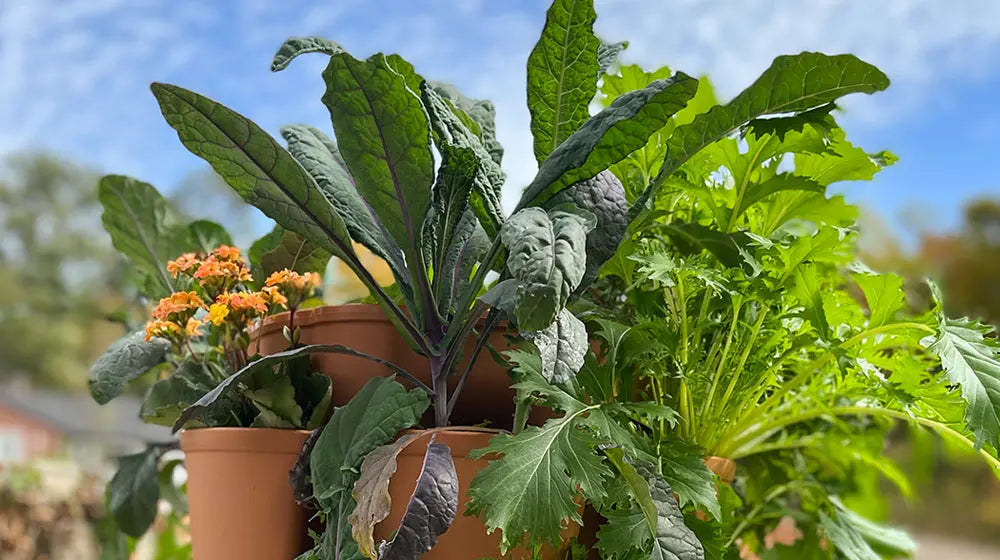
Growing and harvesting
Kale grows best in full sun but can tolerate some shade. Aiming for 6+ hours of sunlight is best! In our experience, it’s not a very thirsty plant — keep the soil moist but not saturated. Simply stick your finger down in the dirt towards the center of the planter to determine if it’s time to water.
You don’t need to wait for a certain color or size to begin harvesting. Once you have some leaves that look good to you, just take the leaf and cut it near the base of the plant. The leaves should snap off easily. If you want your kale to continue to grow, then do not cut into the main stem. Kale is not normally sweet by any means, but as cool weather and frosts continue to hit, it takes on sweet undertones. Yum!

Pest control
Kale, like other plants in the brassica family, have pests to watch out for. Cabbage worms, aphids, whiteflies, and flea beetles are a few. We suggest regularly inspecting the stem and leaves on the top and underneath for any unwanted guests! If you see any, remove the leaf or wipe the stem clean. Some suggest just taking your hose and spraying the affected area to remove them. Organic insecticidal soap spray is also a good option. Either way, get rid of them quickly because they multiply fast! If you do get an infestation towards the end of your growing season, we recommend just harvesting the entire crop because oftentimes the pest overwhelms the plant and you won’t have much kale left for cooking.
In the kitchen
Kale can be cooked or eaten raw in a salad — just be sure to remove the center stem on the kale leaf. Salt & pepper, vinegar, garlic, and bacon are all great seasoning options for kale. It’s so versatile — you can toss it in a hot soup or broth, blend it raw in fruit smoothies, or bake it as chips for a crunchy snack.
We hope you’ll see for yourself how fun and easy it is to grow your own kale. For more information about growing in your specific climate, check out your local extension office. We’re here to help you grow — just email us at support@greenstalkgarden.com.
Happy gardening!