
Never gardened before? Working with limited space? Vertical gardening makes it possible to grow fresh vegetables and herbs in just a few square feet. This guide walks you through every decision, from choosing your planter to your first harvest!
Choosing Your GreenStalk
GreenStalk offers two planter styles:
Original Planter: 10-inch deep pockets, perfect for root vegetables, tomatoes, and peppers
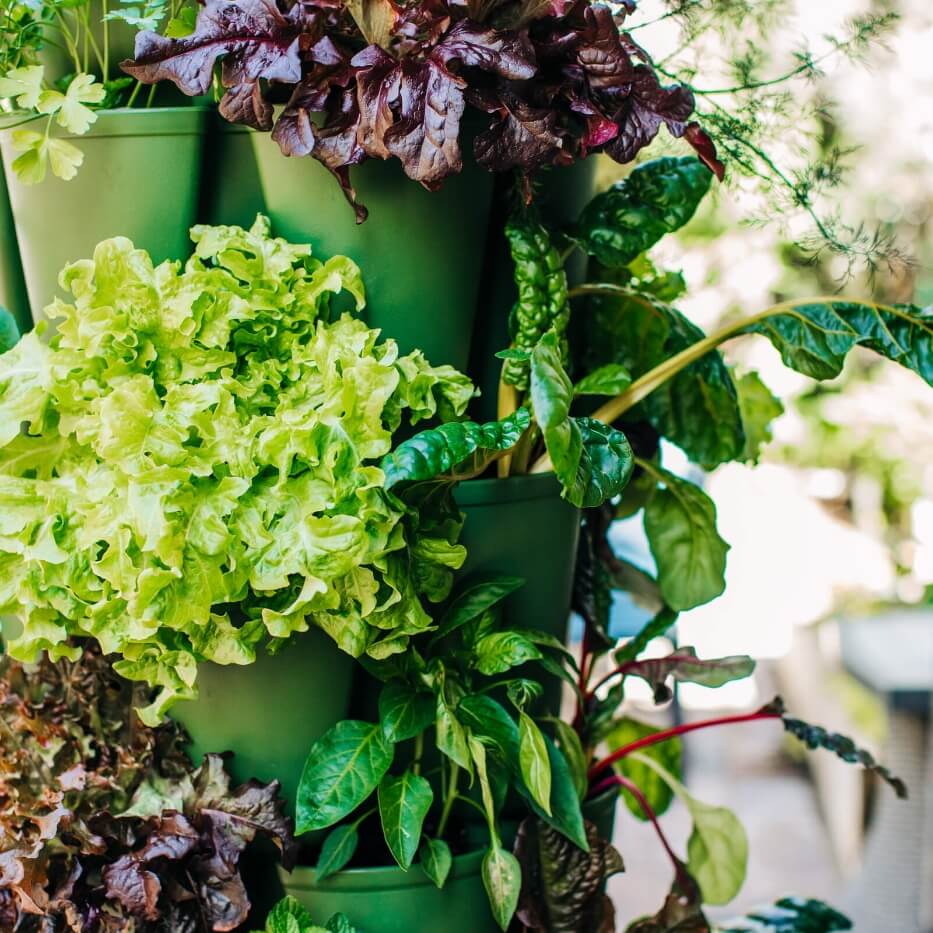
Leaf Planter: 7-inch pockets, ideal for greens, herbs, and strawberries
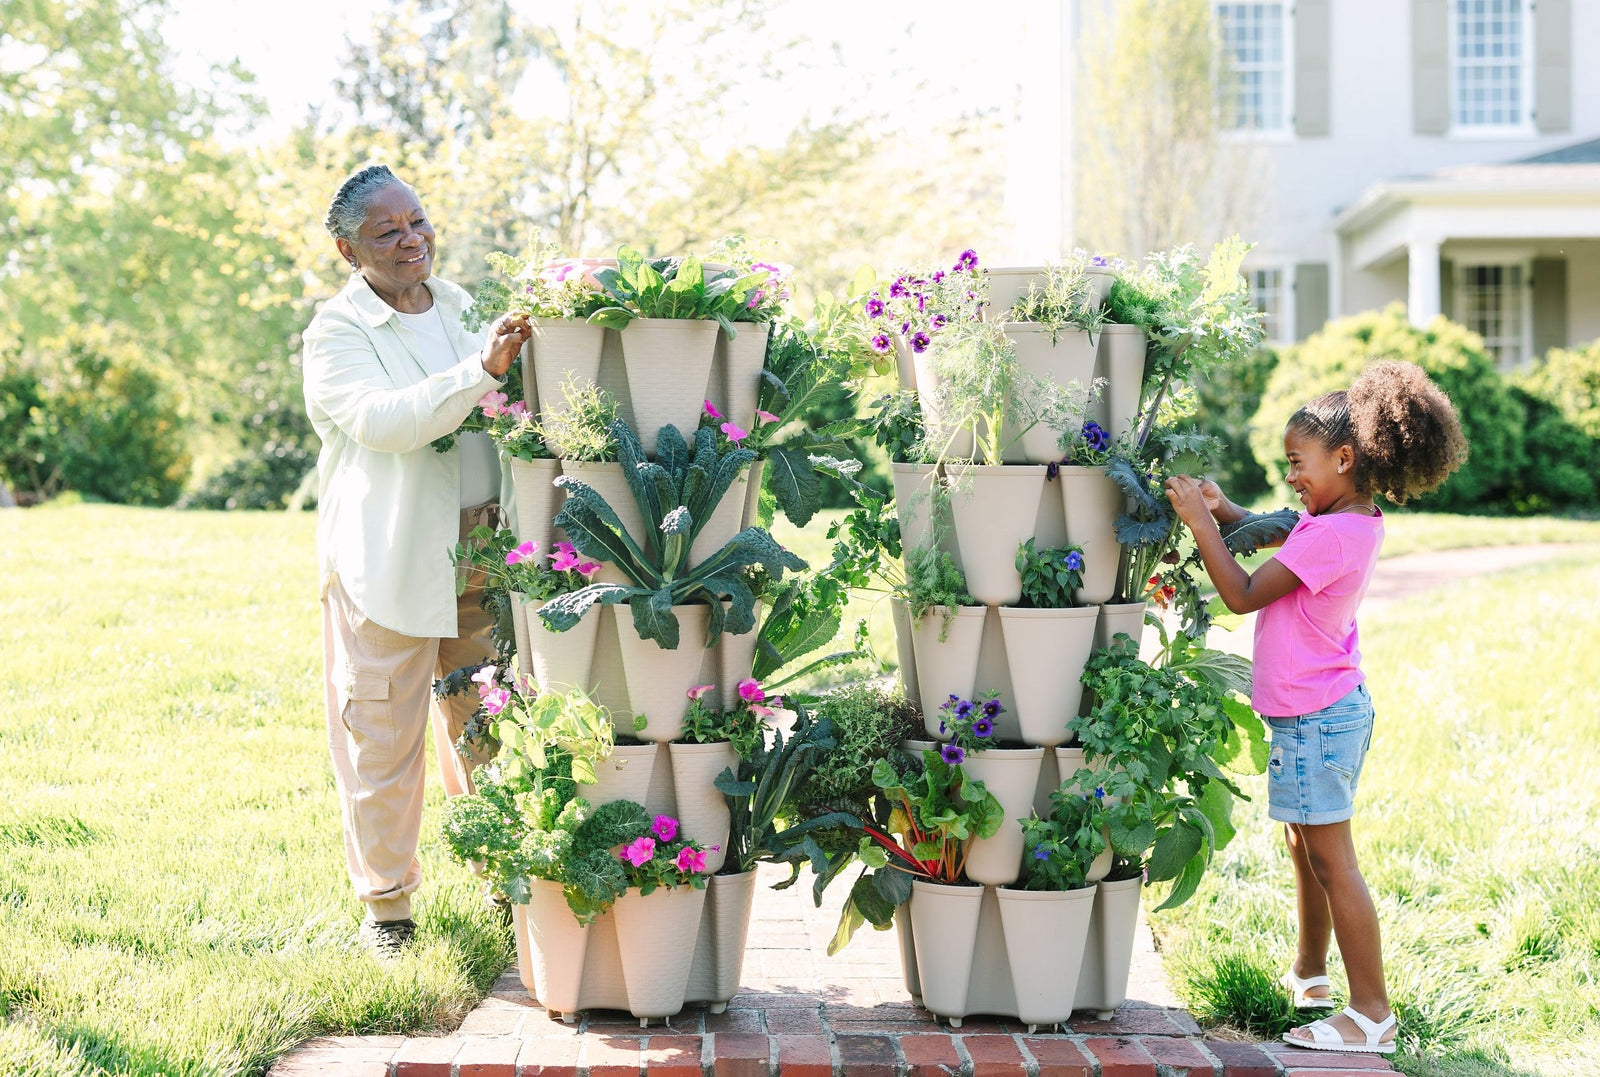
Both come in multiple configurations:
3-tier: 18 plants
5-tier: 30 plants
7-tier Leaf: 42 plants
The Inventor’s Bundle, which includes three Original Planters, three Leaf Planters, the Ultimate Spinner with Wheels, and Plant Support is a great place to start if you want to experience a garden variety. Or, you can build your own configuration with accessories and one of our bases, depending on where your planter will live and how often you’ll want to move it.

Prime Planter Real Estate
Most vegetables and herbs thrive in full sun — at least 6-8 hours of direct sunlight daily. Leave at least 2 feet of clearance around your GreenStalk so plants have room to grow outward.
If you're placing your planter against a wall or near a railing, plan to rotate it every day or two to keep sun-loving plants from getting leggy. Consider proximity to a water source since you'll be filling the top reservoir regularly.
Select Your First Plants
Tempting as it is to look for flashy variations and on-trend plants, we always recommend you grow what you love to eat. The harvest is one of the most rewarding parts of gardening, so plan for crops you'll actually use.
Start simple with 1-3 plant types per GreenStalk:
Pasta garden: Tomatoes, basil, and peppers
Herb collection: Oregano, thyme, parsley, cilantro, and chives
Salad greens: Lettuce, spinach, and kale
Starting with seeds requires more space, resources, and attention during germination to be ready for your GreenStalk. For your first GreenStalk, we recommend starter plants rather than seeds. Six-packs or 3-4 inch pots transplant easily and give you a head start.

Setup Day: Assembly and Planting
Set aside a few hours for assembly and planting. Gather everything you need before you start.
Gather Your Materials
The most important supply decision is soil. Use a lightweight potting mix specifically formulated for containers — never garden soil, topsoil, or raised bed soil. Look for potting mixes with peat moss or coco coir and perlite or vermiculite. GreenStalk recommends brands like Happy Frog, Coast of Maine, and Black Gold.
How much do you need?
Each Original tier holds 1 cubic foot of potting mix (about 8 gallons)
Each Leaf tier holds 0.75 cubic feet (about 6 gallons)
GreenStalk’s thrive best with a mix of fertilizer and worm casting. Granular fertilizers like Fox Farm Jump Start combine with worm castings to mix into the soil during setup, while a water-soluble fertilizer like Fox Farm Grow Big will be added through the watering system as your plants grow.
Assemble and Fill
Follow the step-by-step instructions included with your GreenStalk. Work in the location where you plan to keep your planter — once it's filled with soil and water, it gets heavy and sturdy!
Fill each tier with potting mix to about 2/3 full, then mix in fertilizer and worm castings. Top it off the tier with the rest of the potting soil. This gives you room to nestle in your starter plants. Be sure to keep the soil light and fluffy!

Planting Your First Pockets
How many plants fit in each pocket depends on mature size:
2-3 plants per pocket: Loose leaf lettuce, spinach, carrots, and root vegetables
1 plant per pocket: Tomatoes, peppers, eggplant, squash
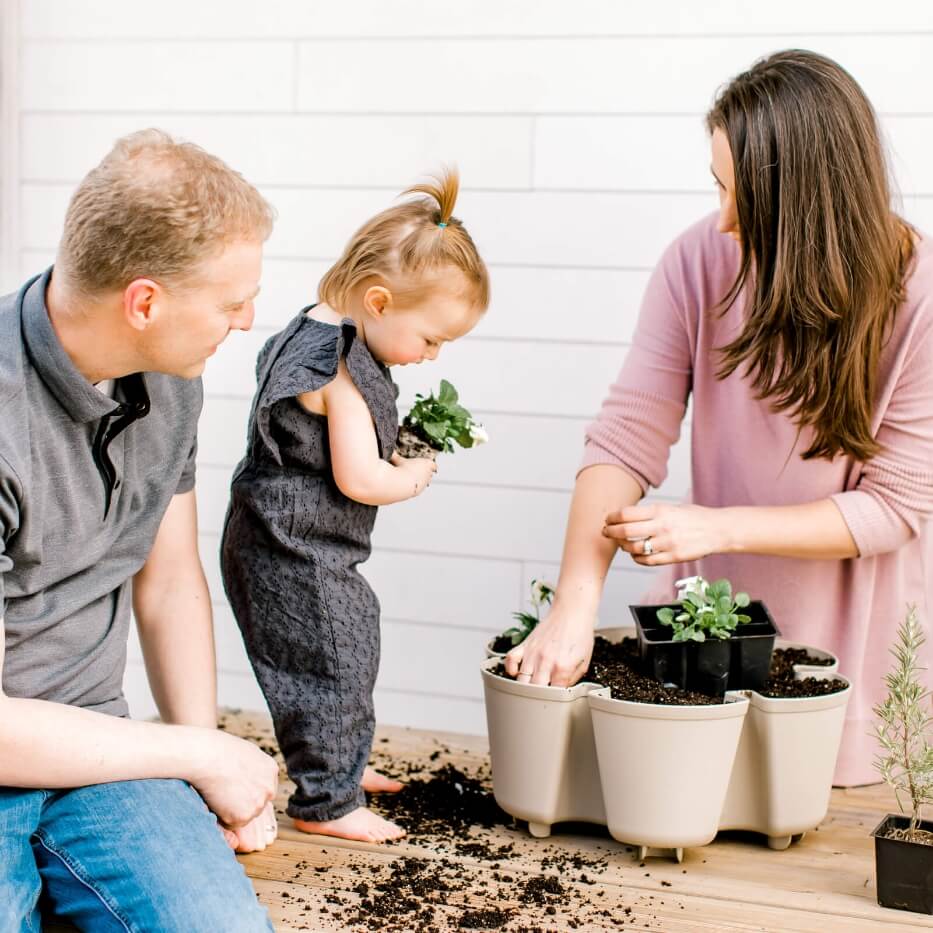
To transplant starter plants:
Create a small hole in the soil
Gently tip the container upside down, supporting the plant base while squeezing the container
If roots are root-bound, rough them up slightly to encourage outward growth
Plant so the base of the stem sits at soil level (exception: bury tomatoes deep with only the top third showing)
Backfill soil around the plant
Tuck plant tags beside each pocket for reference
Place larger plants toward the bottom tiers and smaller ones toward the top to prevent shading.
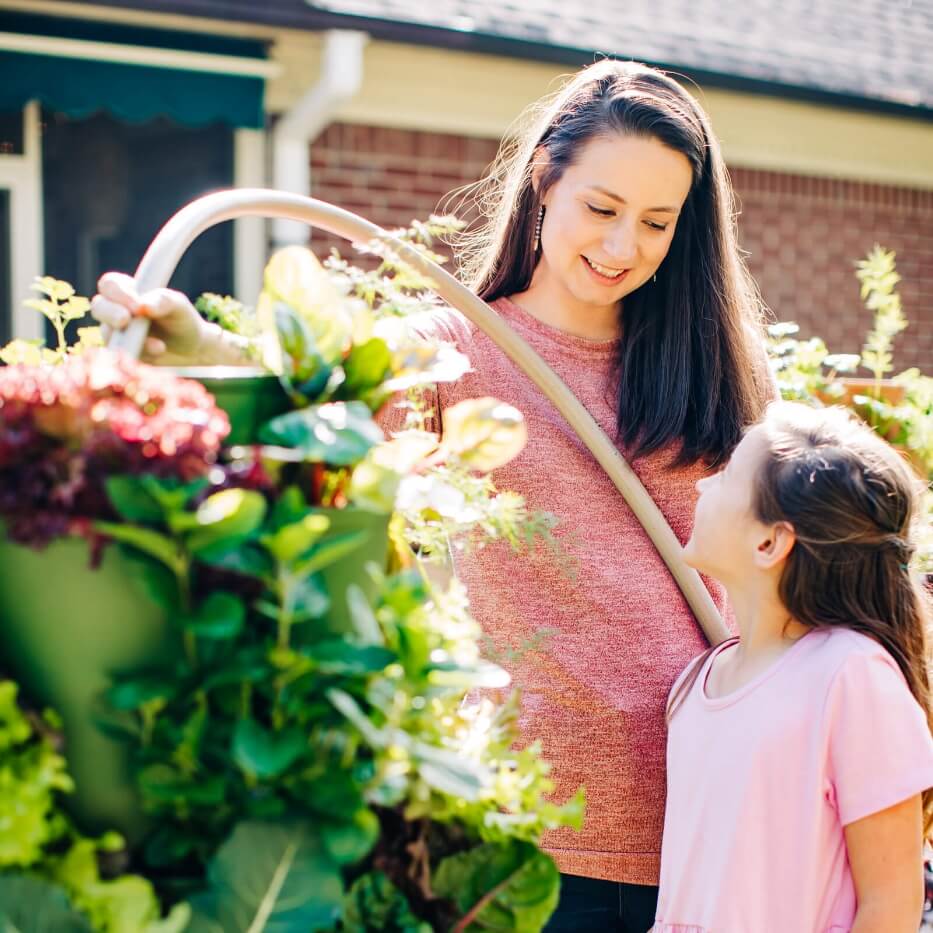
Watering Your GreenStalk
After everything is planted, fill the top reservoir several times until the soil is completely saturated. This eliminates air pockets around your newly transplanted roots. Watch the water "tornado" through the center hole and slow-drip from the smaller holes surrounding the center spout.
Your ongoing watering routine depends on the season, weather, and what you're growing. Check the soil moisture regularly as you learn your planter's rhythm. Stick your finger into a few pockets. If the top two inches feel dry, it's time to water.

You can add water-soluble fertilizer through the reservoir as part of your regular watering routine following the directions on the bottle. You may not need to feed your plants every time you water, but it’s helpful to develop a schedule that works for your plants.
First Month: What to Expect
The first few weeks are an establishment period. Your transplants are settling in and adjusting to their environment. Healthy growth looks like new leaves and plants gradually filling out their pockets.
If plants start looking leggy, tall with sparse leaves, they’re likely reaching toward the sun. If leaves begin to yellow, check your fertilizing schedule.

Join the GreenStalk Community
TheGreenStalk Gardening Facebook Group connects thousands of gardeners growing vertically. It's a space to ask questions, troubleshoot challenges, and get inspired by what others are growing.
That's it — you're officially ready to start your vertical gardening journey! The GreenStalk Vertical Planter was designed to make gardening more accessible than ever before. Even if you've never grown anything, you now have everything you need to succeed. Your first harvest is just weeks away.
Happy Gardening!